The Sign Design for the Quad Cafe
 |
The sign we are building is going to be an oval, and the company is called, "The Quad Cafe." All the necessary pieces are below on this page except for a few items that can be created by you with simple tools. The object of this lesson is to learn how to work with layers and embossing tools which will enhance the overall design. Plus, you will learn how to copy and paste layer styles from one layer to another. This knowledge will greatly reduce the amount of time it takes for you to render a design with multiple layers and layer styles.. |
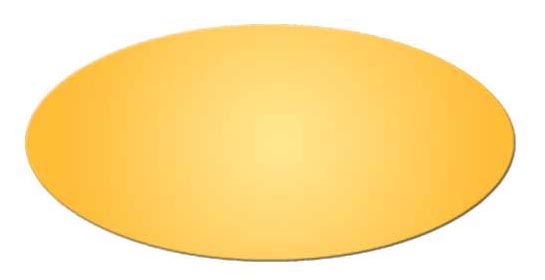 |
1. To get you started, let's click and copy this oval to your hard drive or copy and paste it into PhotoShop. |
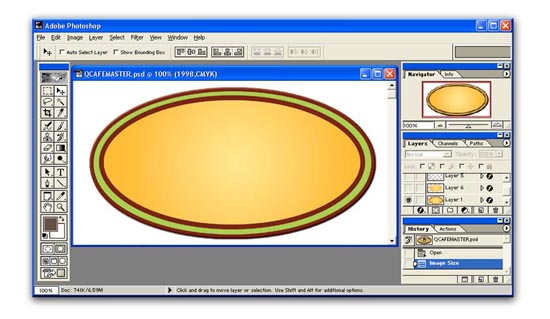 |
2. What we have here is an oval inside an oval that is inside an oval. But to do this properly, you must create new layers for each of the ovals you create. The larger ovals serve as a frame for the smaller ovals. If we keep them on separate layers, we can emboss them individually which will give us a raised border effect. |
 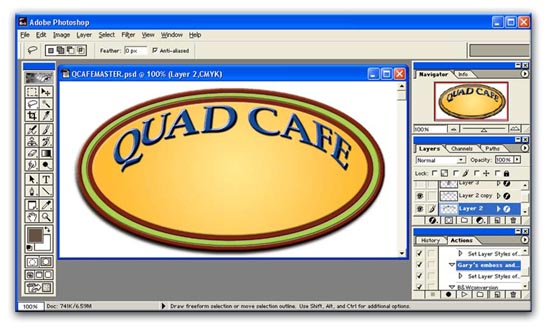 |
3. Here's the type we created in another program (FreeHand) that allowed us to conform the type to a curve with a little perspective distortion. Anyway, it's ready for action with very little if any further manipulation. We can copy this and paste it into a layer in our PhotoShop file. Then we can remove the white portion, color and emboss the type.
Let's try an inner emboss with a hard black outer glow, and make sure that the highlight on the inner emboss is practically opaque. This will make the letters look like they were painted with gloss enamel. |
|
|
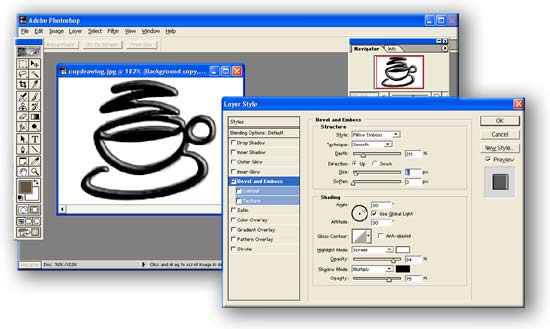
4. Here's our graphic element, a cup. We need to copy and paste this into a layer in our PhotoShop, and when there, we can emboss it. Let's try a Pillow Emboss in the Layer Style menu |
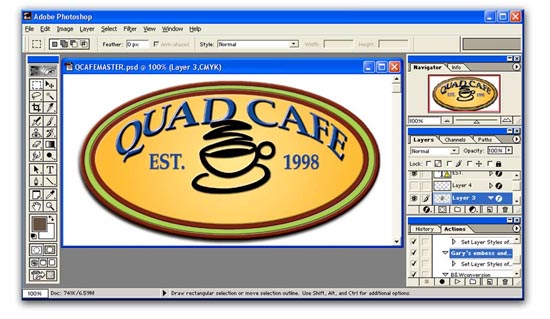 |
5. We affix our cup to the sign, and we need the EST. 1998 tag on either side of the cup graphic. No problem. Just use the Text Tool, and let's copy and paste the embossing characteristics from the Quad Cafe layer to the smaller text layer. Once you have set your layer style the way you like it, find the Copy Layer Style command in the Layers menu.
|
 |
This is the copy layer style command in the layer menu. The Paste Layer Style command is just below this command. Paste layer style is what you will need when you want to transfer the emboss and shadow style characteristics from one layer to another. |
|
|
6. Here's the last type element. Let's copy and paste it into a layer in our PhotoShop file and also, using the Copy Layer Style command, duplicate the layer style characteristics from a previous layer to this new layer. |
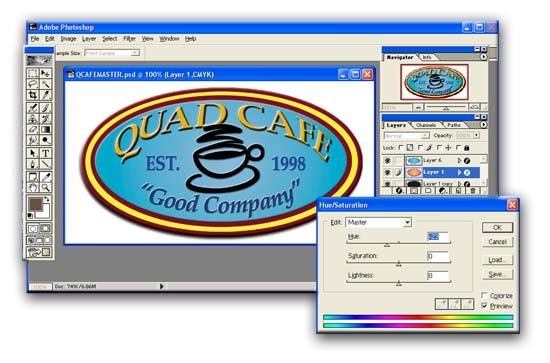 |
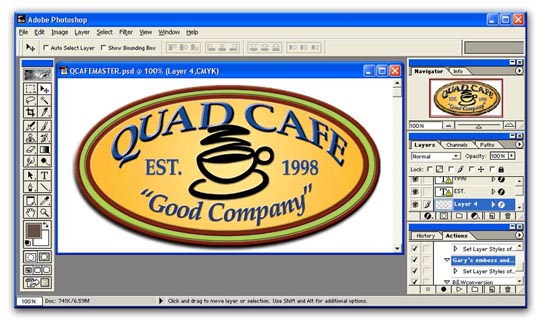
7. Let's play with the layers in a variety of ways to test of possibilities. Remember not to flatten your original master file, because we can explore more possibilities when we keep the layers separate.
Notice how we changed the colors in at least three layers by using the Hue/Saturation tool in the Image Adjust menu. |