
by Gary Olsen
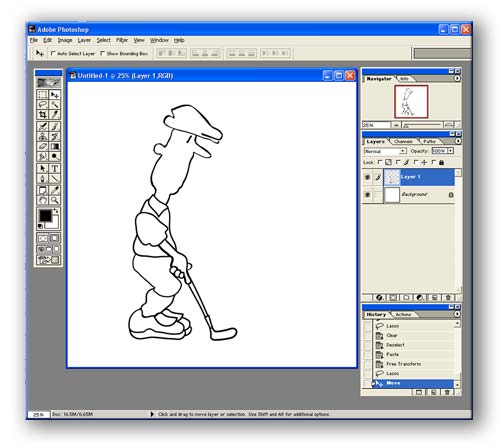 |
Step 1 I prepare some quick reference drawings. I have a general idea of where I'm going with this, and I want to keep drawings light and lively. I use my Wacom pressure sensitive tablet and stylus. |
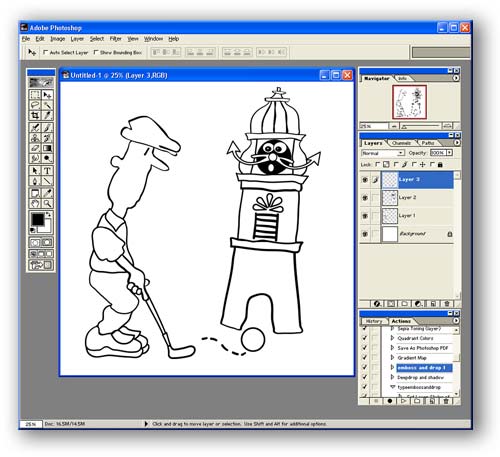 |
Step 2 My star characters. The golfer and the venerable Town Clock, the icon of our event. |
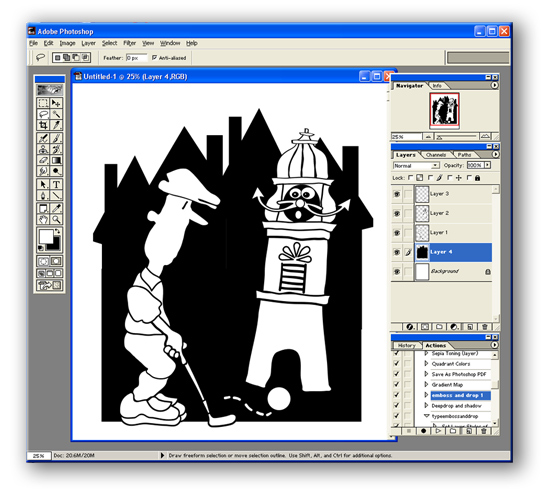 |
Step 3 I needed something to tie in the characters, so a skyline makes sense. |
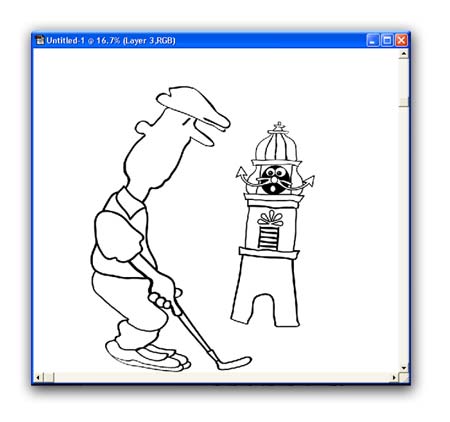 |
Step 4 I use distortion filters to create more interesting lines from my orginal drawings. I love these filters in PhotoShop because they give me all kinds of new possibilities. I made the golfer more distorted therefore more comical and more dynamic. |
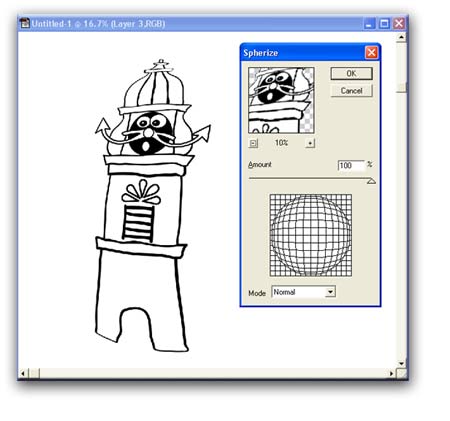 |
Step 5 For the clock I'm using the spherize filter which gives me more excitement. Plus I can emphasize certain parts of the clock, like the face, making it larger. I don't like that face because the cartoon style doesn't match the other figure. So I think I'll change it. |
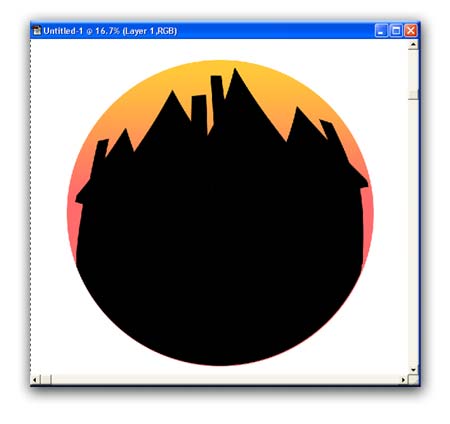 |
Step 6 I decided to sperhize the background and add a circle evoking a sunset behind the skyline. |
|
Step 7 I combine type elements created in Photoshop and distorted there using the new font distortion filters available in Version 6. I can curve and distort the type right around the circle. I use a real golf ball image instead of a drawn one. I can move the shapes around to fine tune the composition. |
|
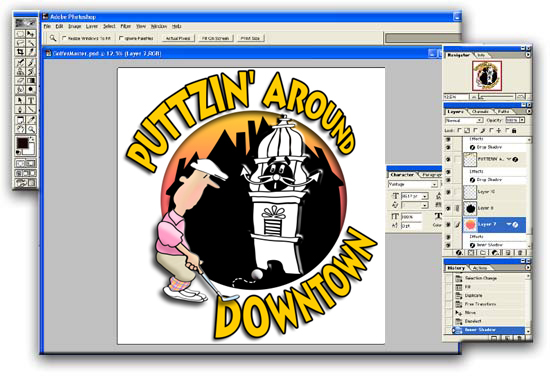 |
Step 8 The final color image. I used drop shadow and emboss techniques on various pieces of this logo to improve contrast and provide a more sculpted appearance among the images in the composition. |
|
|
Step 9 Final image. Click on it to download the larger more printable JPG file. Download List: Huge Full-Color Image good for signage 17 x 18 inches 300 dpi Medium Sized Image Full-Color High Resolution image good for publishing 10 x 11 inches 300 dpi Huge Black and White Image good for signage and screen printing 17 x 18 inches 300 dpi Medium Sized Image Black and White Image 8x8 inches 200 dpi |